Build Your Own Clone Message Board

It is currently Tue Apr 30, 2024 9:34 pm

All times are UTC - 6 hours


Post new topic Reply to topic  [ 7 posts ] 
Author Message
PostPosted: Fri Jan 03, 2020 12:42 pm 
Offline

Joined: Wed Oct 16, 2019 8:23 pm
Posts: 37
Location: Richland, WA
Hi all, I'm in the middle of my first-time Champlifier build and have been following the instructions to a "T". I've tried to remember to read ahead a few pages so I stay aware of what's coming, and I search this forum if I have questions (highlighted below).

Apart from a few minor speed bumps, it's going very well, thanks fo the excellent instructions and the wealth of info on this site. That said, I have two quick questions, one is about the parts in the kit and the other is related to routing the wiring for the power, switch and fuse (i.e., some of the info on this site and other sites recommend a variance in the wiring to make it safer/more up to modern safety specs). Since I'm still a newb, I want to make sure I get it right...

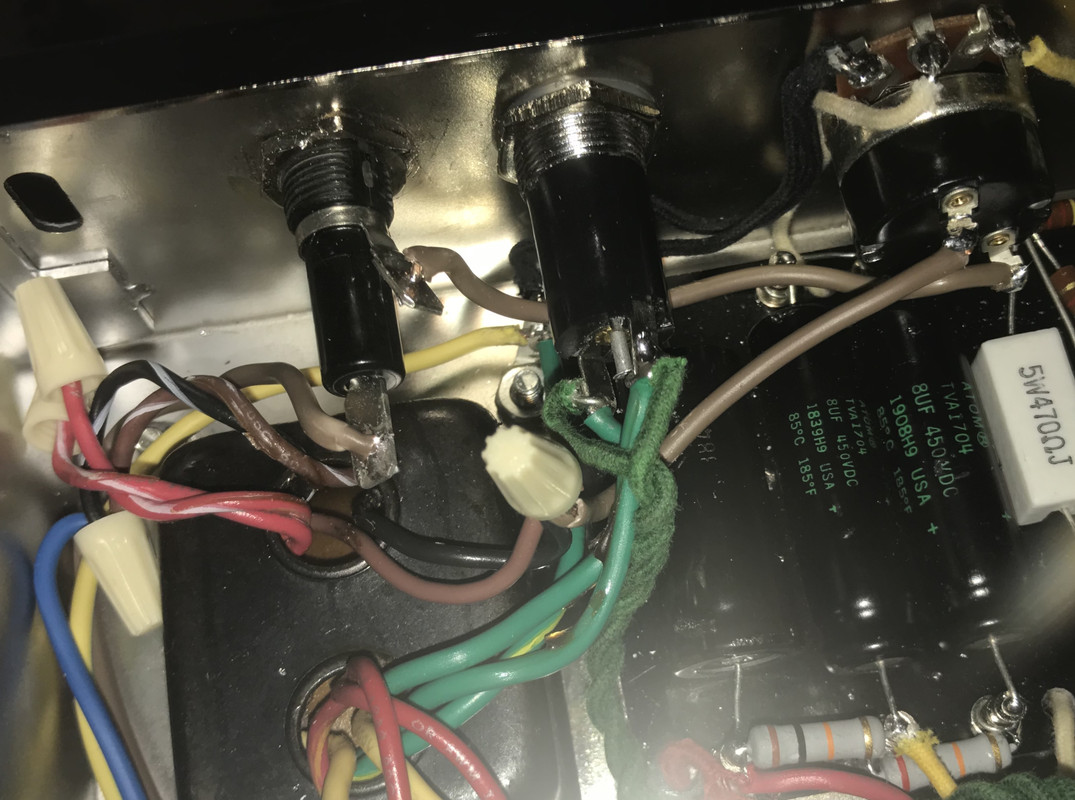
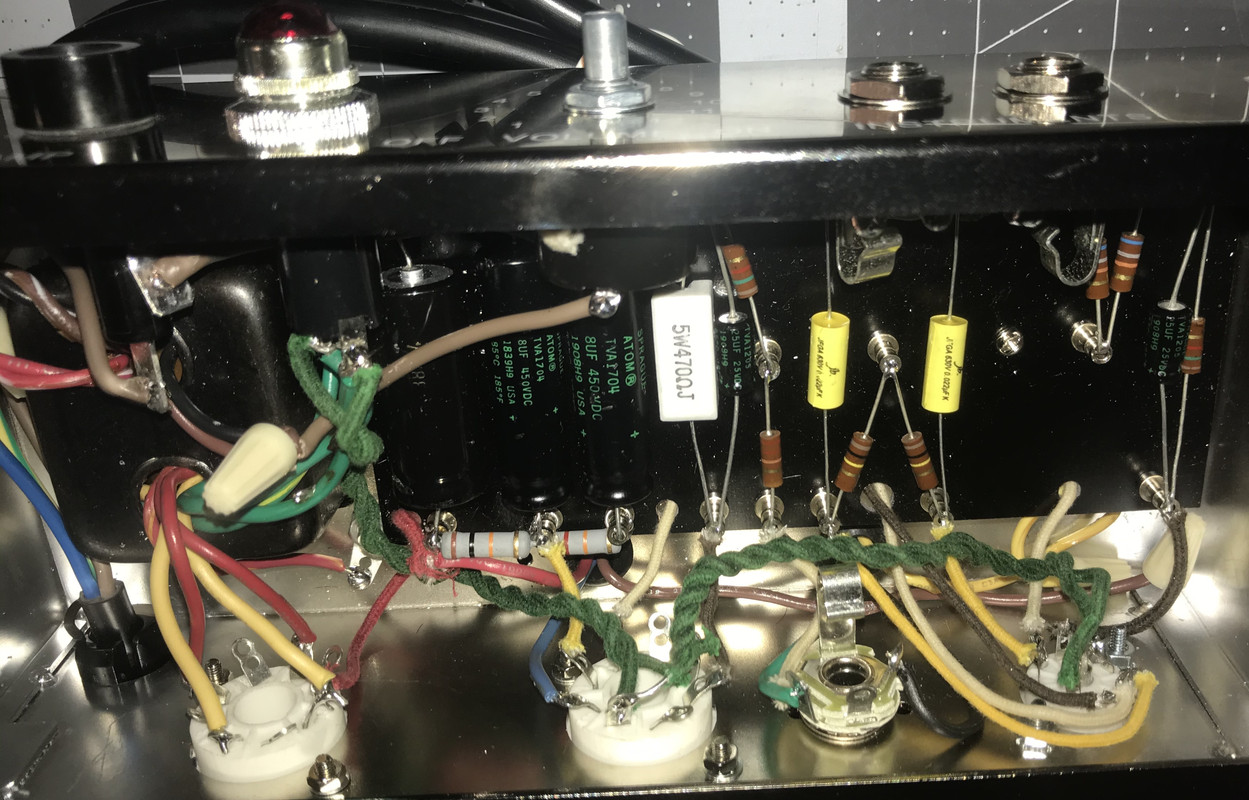
1) The parts list specifies 8 (eight) 4/40 x 3/8" screws, 8 (eight) 4/40 nuts and 8 (eight) #4 internal lock washers. What I received are 6 (six) regular-headed screws (and all the specified nuts and washers) and 2 (two) screws with a flange/washer type head (along with the proper size washers and nuts). I've already mounted the circuit board and two of the tube retainers, and when I went to install the two screws for the AX7 tube retainer, all I had left were the two big-headed screws and they are too large to fix in the well of the aluminum tube retainer socket. Here's a pic of the AX7 retainer with the screws that are too big and you can also see the other tube retainer with the proper, smaller screw head beside it:

Image

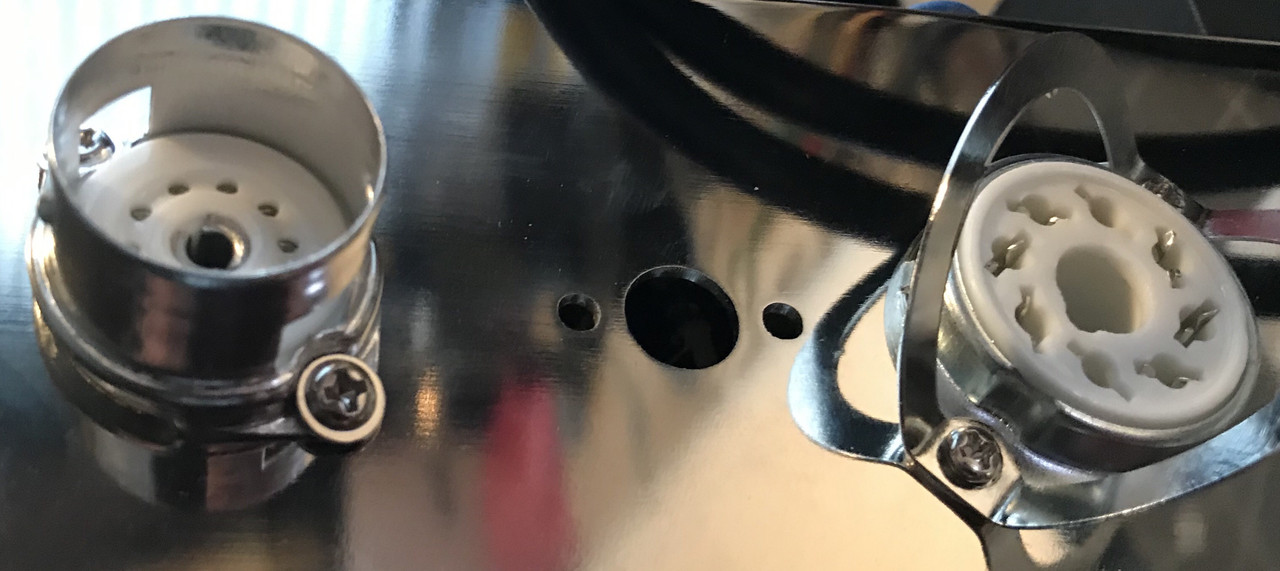
I can't recall if they are the same thread size as the standoff screws, so is it possible I mixed them up and should have used them elsewhere in the build, thus saving the correct screws for the final tube retainer? If that's the case, I'm running to Ace Hardware in a little bit!

2) Regarding the 'proper' or 'best' way to wire this up for safety versus vintage accuracy: I've already wired it up the BYOC way (pic #1 below). However, during my reading, I came across other posts here (but I forgot to bookmark and then couldn't find it again) and on TDPRI (link here https://www.tdpri.com/threads/5f1-champ-ac-cord-wiring-differences.711653/), that speak of more modern wiring that reflects current safety 'best practice'. Apparently, it is safer to run to the fuse before the on/off switch, which makes sense... I've posted three pics below, one is BYOC, one is credited Robrob (Rob Robinette) and the third is credited as a Mojotone version (no copyright infringement intended, so if I'm wrong in liking or quoting, please advise and I'll fix). The write up in the referenced post seems reasonable and reflects posts I read here. However, since I already wired mine up, is it worth the hassle to re-do and if so, can someone please draw it up for this newbie or spell is out for me? I'm not ashamed to admit I'm a greenhorn and gladly yield to your experience and am grateful for it!

Here's the BYOC version:
Image
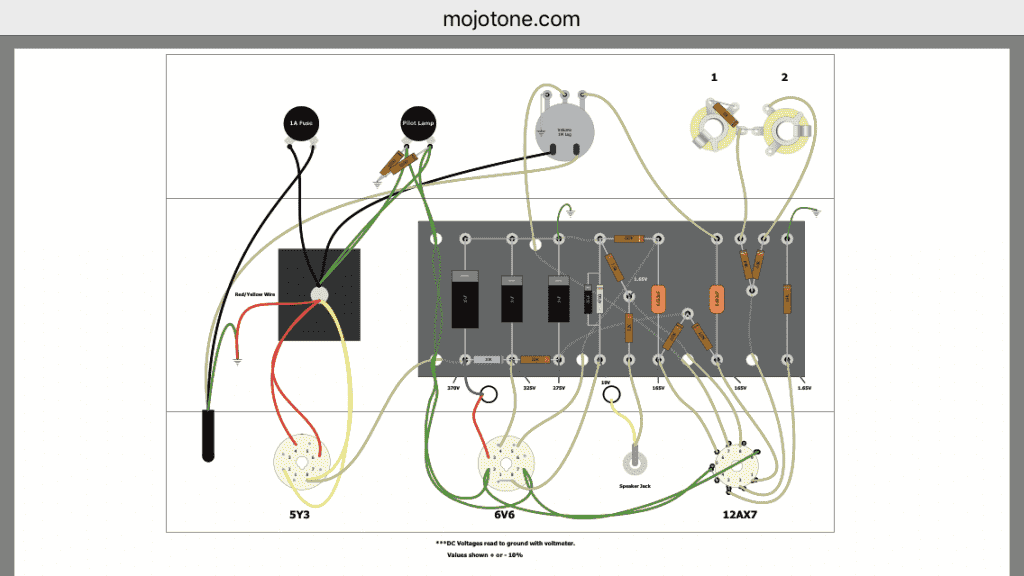
Here's the Mojotone version:
Image
Here's the one Robrob version:
Image

So, my two questions are:
1) Did I mess up and use the wrong screws somewhere along the way and a trip to Ace is the next step)?
2) Should I leave my wiring as-is or change it? And if I should change it, would you kindly provide specific instructions on how to undo what I've done and the steps to make the change?

As always, thanks a million!

Mike


Top
 Profile  
 
PostPosted: Fri Jan 03, 2020 1:05 pm 
Offline
User avatar

Joined: Fri Oct 21, 2011 12:12 pm
Posts: 2888
Location: Delaware
For the hardware, I would just run to your local hardware store and pick up what you think you need. Sounds like you know what you're trying to do. I don't think it's worth the effort to go back and figure out if you used a wrong screw here or there as long as everything is secured properly.

For the power wiring, I would follow the Robrob version you posted. The hot wire on the plug is the black one. You want the fuse to be the first thing that hot wire sees when it enters the chassis. Then it comes out of the fuse and goes to the power switch, and then finally the transformer. This is the best and safest way to do it. It was done different in the past, which is why you've found alternate versions. (connect power cord to long part of fuse holder) I'd draw something up, but I'm not at my bench at the moment.

Problem with the BYOC version is that if the switch fails, the fuse is after and will not blow. This would cause your breaker to trip at a best case. Fire at a worst case.
Problem with the Mojotone version is that the hot wire is connected to the transformer at all times and the switch is on the neutral. To me, this is just a dumb way to do it.

_________________
If practice makes perfect, and nobody is perfect, then why practice?

It hurts me to say this.. but.. follow me on facebook and.. :( instagram


Top
 Profile  
 
PostPosted: Fri Jan 03, 2020 1:12 pm 
Offline

Joined: Wed Oct 16, 2019 8:23 pm
Posts: 37
Location: Richland, WA
Spin, thanks for the quick response! Would i want to go from the power cord to the tip or the topmost connector on the fuse chassis?


Top
 Profile  
 
PostPosted: Fri Jan 03, 2020 1:47 pm 
Offline
Moderator
User avatar

Joined: Wed Apr 26, 2006 5:14 pm
Posts: 8659
Location: Truckee, CA
Power cord should go to the tip of the fuse holder; farthest away from the chassis. That way, the live AC voltage is not present near the opening of the fuse holder if you change fuses and forget to unplug the amp.

For the hardware, get #4 screws and I recommend using keps nuts on the chassis.

Image

_________________
MasterDelayer/Reverbrador/Ampaholic/TopJacker


Top
 Profile  
 
PostPosted: Fri Jan 03, 2020 2:00 pm 
Offline

Joined: Wed Oct 16, 2019 8:23 pm
Posts: 37
Location: Richland, WA
Morgan, thx for the info and tips!


Top
 Profile  
 
PostPosted: Sat Jan 04, 2020 5:23 am 
Offline

Joined: Wed Oct 16, 2019 8:23 pm
Posts: 37
Location: Richland, WA
Forgot to clarify: will the brown and black wires from the PT that were originally soldered to the tip of the fuse holder remain together and be connected to the red cloth wire? In other words, I now have:

1) the power going directly to the tip of the fuse holder, then
2) from the fuse holder lug closest to the chassis, to the switch lug where the power used to be originally, then,
3) the (formerly) red cloth wire (now the same color as the power wire since it is carrying the source power) leaves the switch lug and now ties in to the brown and black wires on the transformer.

I started this message earlier this evening, thinking I would walk away for a bit, but I couldn’t stay away, and i ended up finishing the chassis. You will see i modified the power supply routing, hoping to match Robrob’s schematic.

Did I get it right? Here are some pics, I hope they are good enough for you to evaluate my work.

This is a closeup of the re-do i did to make the power supply safer.

Image

Image

I won’t power up til i hear back from somebody. You will see that i made some rookie mistakes, like cutting some leads a bit too long, some too short, etc.

Image

You will also see that I have a small wire nut on the brown and black transformer wires, i plan on putting a bigger one on tomorrow, if i keep this as is.

A couple more, plus the cabinet Jim (@ BYOC) made for me.

Image

Image

i’m pretty excited to begin the startup, but hoping to get feedback before i do. My biggest concern is the splice coming off the power transformer. Hopefully it’ll be ok once I put a bigger wire nut on it.

It’s 3:10 am and I’m done for the day.


Top
 Profile  
 
PostPosted: Sat Jan 04, 2020 9:22 pm 
Offline

Joined: Wed Oct 16, 2019 8:23 pm
Posts: 37
Location: Richland, WA
I’m all finished and it’s working well. I posted it in the “Show off your completed builds” section.


Top
 Profile  
 
Display posts from previous:  Sort by  
Post new topic Reply to topic  [ 7 posts ] 

All times are UTC - 6 hours


Who is online

Users browsing this forum: No registered users and 5 guests


You cannot post new topics in this forum
You cannot reply to topics in this forum
You cannot edit your posts in this forum
You cannot delete your posts in this forum
You cannot post attachments in this forum

Search for:
Jump to:  
cron
Powered by phpBB® Forum Software © phpBB Group