First things first. I have got to give
Keith2112 major credit for helping me layout my vision for the artwork. Without him this pedal would not be what it is.

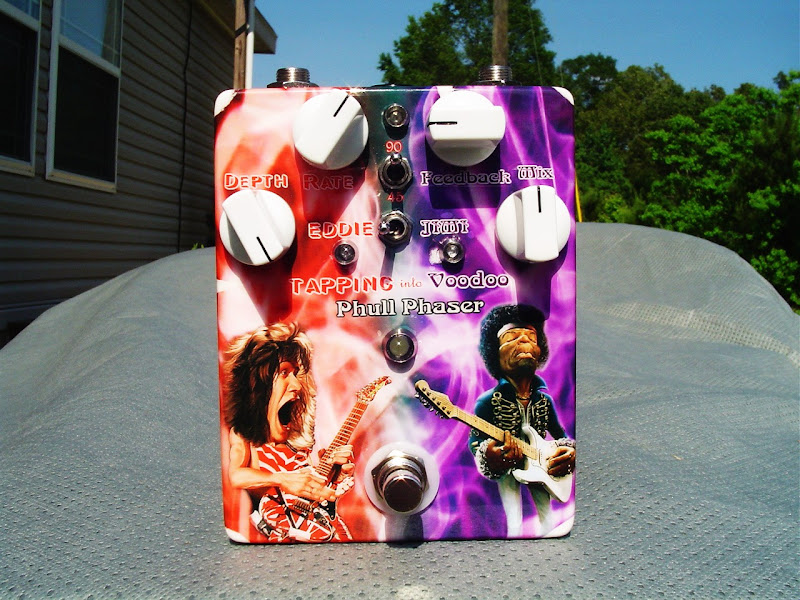
I already had the Eddie and Jimi pics. Keith2112 did the background and fonts for me through many emails back and forth between us until the layout was right. So Keith2112, thank you very much for the help.
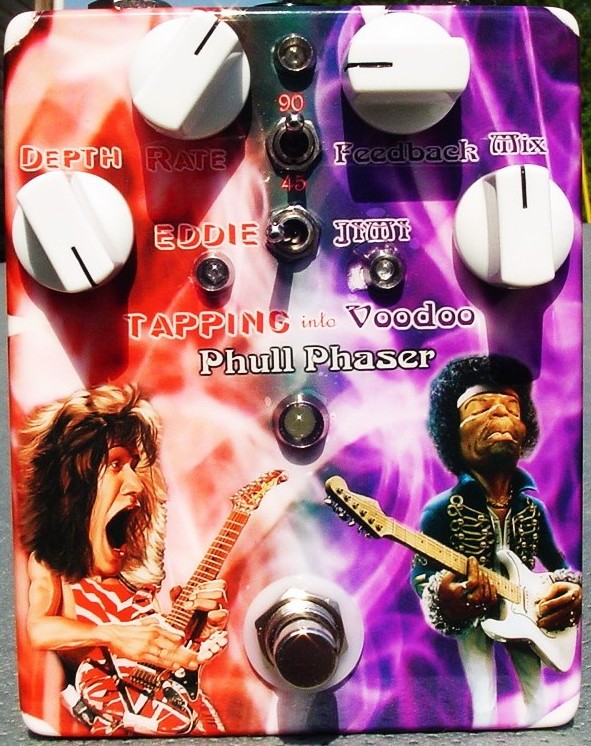
Let me introduce you to my "Tapping into Voodoo" Phull Phaser 
Sorry for all the pics, but I'm really proud of this first build.

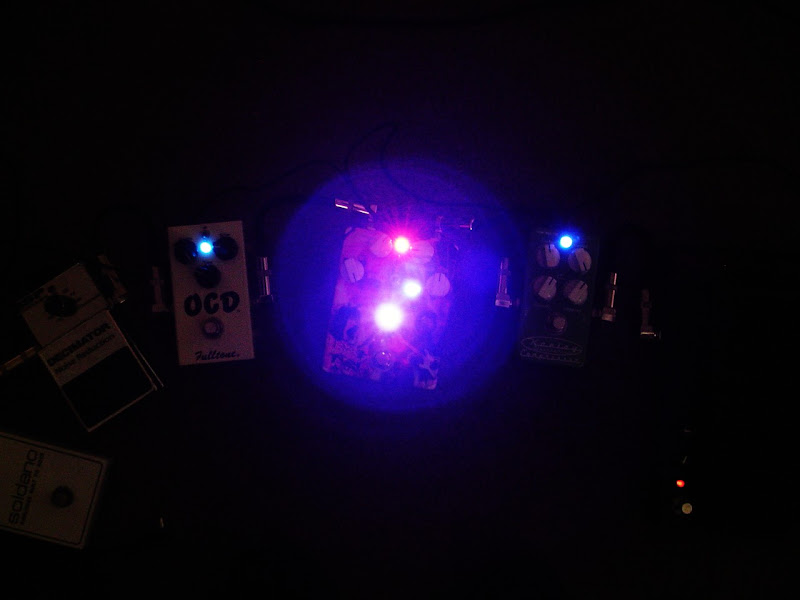
My camera had issues with the LED's, so the colors look a little washed out in some of them.

Just finished this pedal and all I can say is wow. Not only is the artwork the bomb (well it is to me anyway

) but this pedal sounds incredible. Fired it up and set the JFETS, works perfectly first time out! I've had a block letter Phase 90 for years, but this one blows it out of the water tone wise. Even when blending the feedback in to more closely match the block letter version, it still sounds incredibly better, smoother. The "Jimi" 'Vibe side is really cool too.
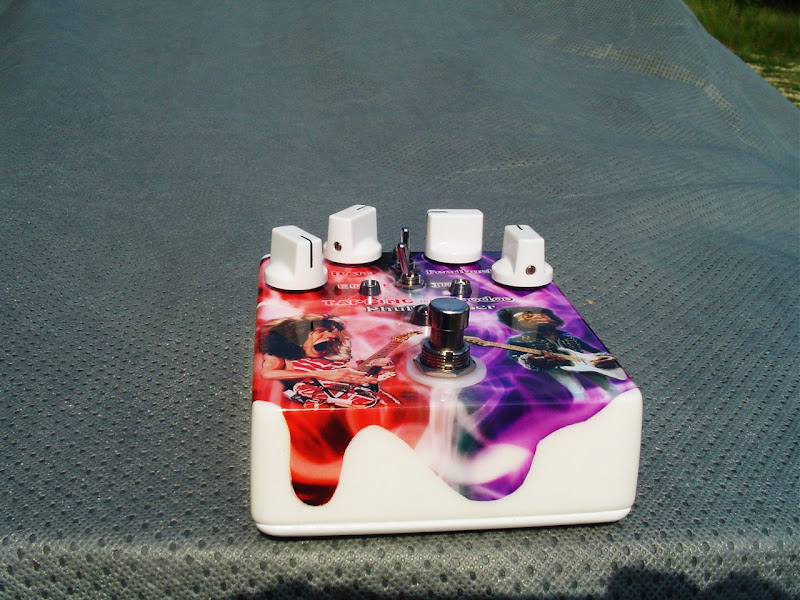
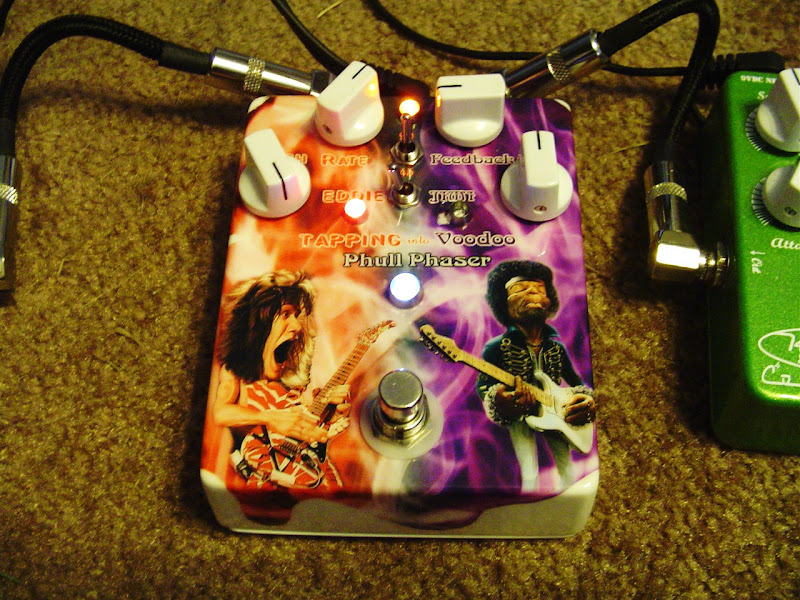
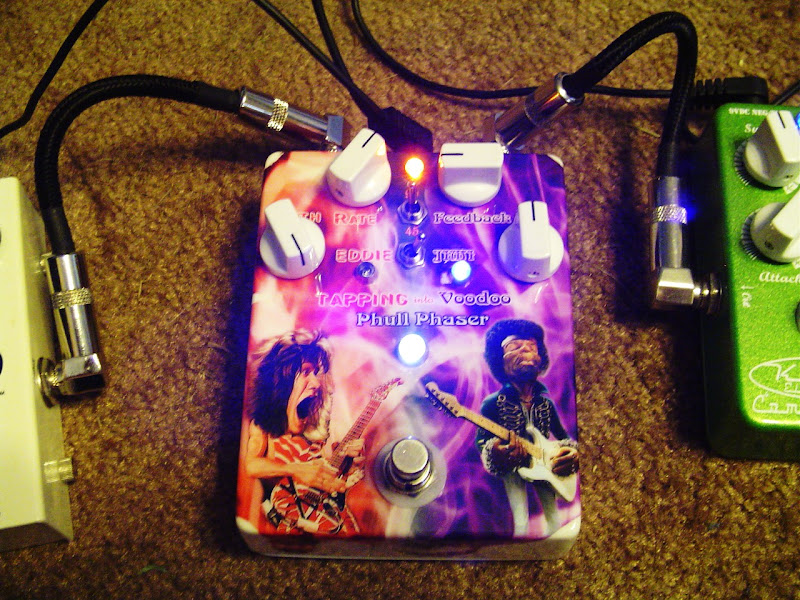
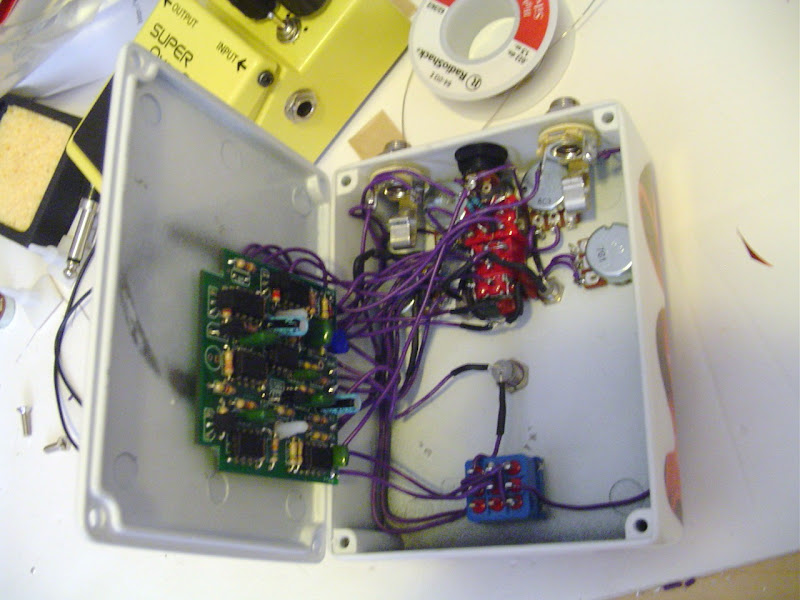
So on to the build. I had to go with a "clam" type of build where I attached the board to the bottom plate. It's the only way I could get all the switches in place and clear them. I would have made the wiring much neater if I could have mounted the board inside the housing itself. That's the kit's stiff solid core wiring that's holding the back plate up in the last pic, the back's not even touching the housing! Not really worried about the wiring, since there's no battery, there's no need to keep opening and closing it. The stomp switch and Eddie/Jimi switches fit in between and around the board components and take advantage of the available clearance. I went with 3PDT switches so I could have 3mm LED indicators for the "Eddie"/red LED & "Jimi" ultraviolet/purple LED sides of the circuit. Same thing for the 90/45 switch, but only had room for the 90 side orange 3mm LED. Wired the circuit LED's directly to power so they are lit all the time depending on switch positions. No battery option so it doesn't matter. Went with a white 5mm LED for on/off. Used 3.3k resisters for the 3mm LED's and the stock 4.7k resister to tame that bright A$$ white light, couldn't even look at the pedal with a 3.3K on it!! All LED's are clear water types.
Believe it or not, the hardest thing I had to deal with was the water slide decal. Went through about 5-6 attempts before I got something I could live with. Had to strip it back and start over several times, including the white paint once because I messed it up too. Don't ask

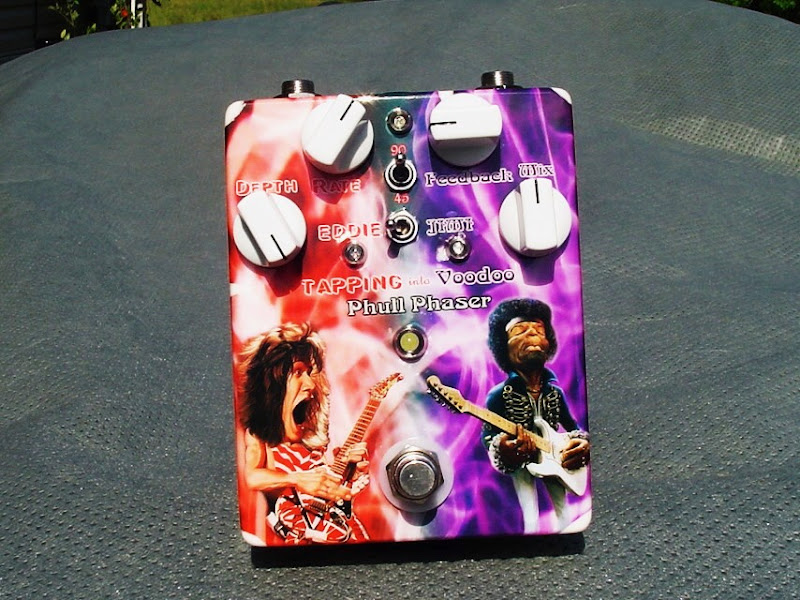
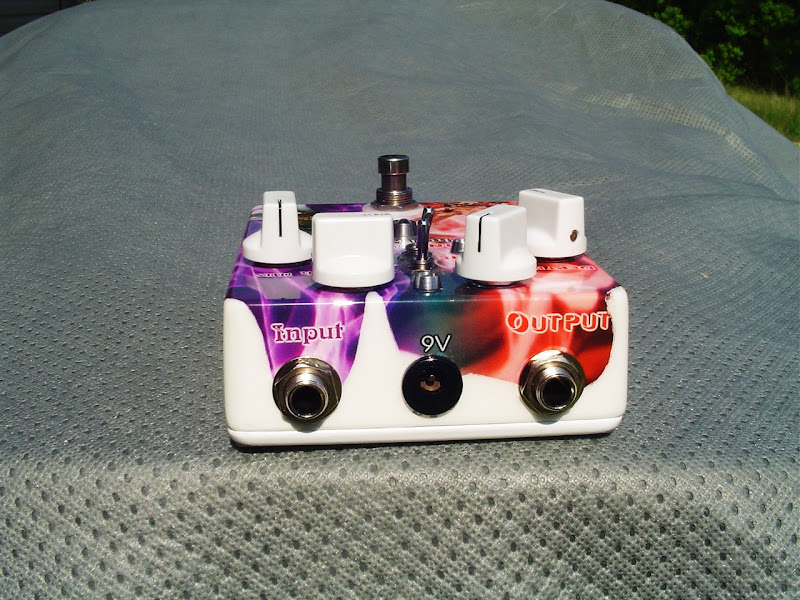
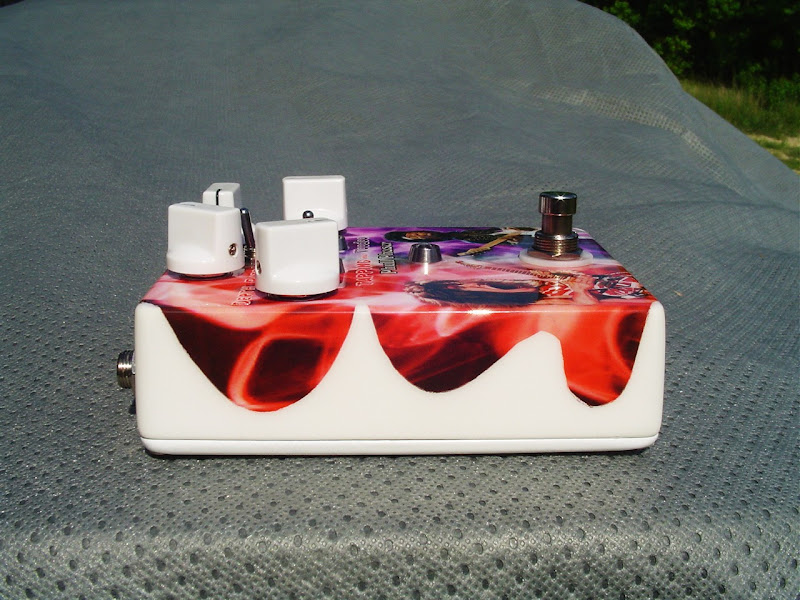
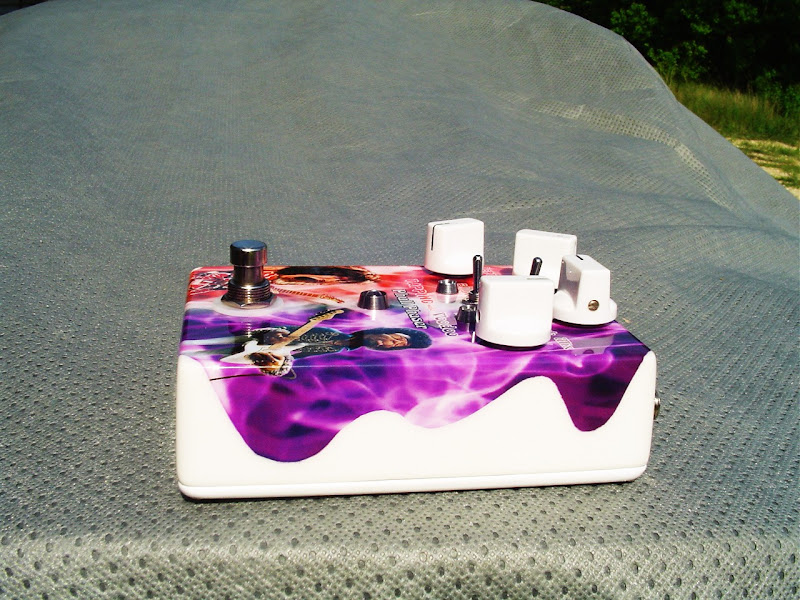
! Anyway I wanted the image to flow over onto the sides with out having to make them separate pieces, but I knew the corners were going to be the problem. So as you can see I cut the layout to make it look like the image was poured onto the housing and "dripped" over onto the sides, took care of the corner issue
. Many coats of clear and wet sanding, then polishing and this is the finished product. Can't feel the edges of the decal. There are a few very small issues with the image and finish that will eventually make me do another box and transfer the components over. One major issue I had was those sides wrinkling up and sticking in place before I could get the image centered and them all straight and smooth. What I did last is what you see here. This is how I did it (yeah, first build and I'm giving tips!!

). Not sure if anybody knows this, but if you are very careful you can peel the water slide decal off it's backing paper without using water. So what I did was to submerge the box in a big bowl of water with something underneath it to keep it off the bottom, peeled off the paper backing and floated the decal on the surface of the water. Then reached in around the decal and lifted the box up to the correct position under the decal. Once I was satisfied with the placement, I lifted the box out of the water which laid the decal on perfectly, including the sides. I was still able to move the decal around as needed while the sides where laying on smoothly. Word of warning though. Doing it this way will remove most, if not all of the adhesive from the back of the decal, so you will have to seal it down with clear coating.
So enough of my yada yada, what do you guys and gals think???