I posted my very first BYOC kit build a little over a week ago, and am back with my second completed build to show off, although the outside certainly isn't much to look at. Maybe for the next one I'll put in the elbow grease to sand and polish the aluminum or figure out waterslide decals...This kit was excellent, but I had more trouble than with my first build. I learned a lot about my preferred process though, and which steps to be extra slow and steady and careful on.
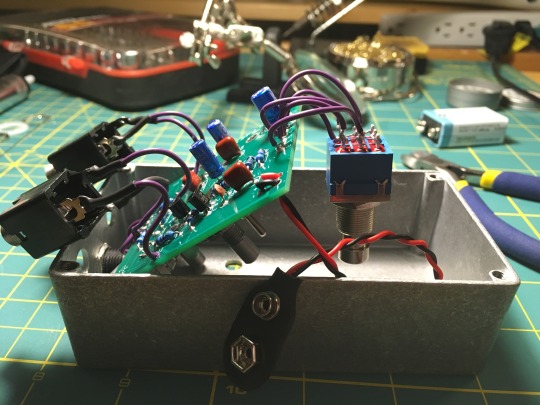
For one, the kit instructions say to leave the PCB installed to connect the footswitch and that both inserting the wires and soldering on the top pads of the footswitch eyelets of the PCB was probably fine. I found that not being able to see the other side of my joint was not the way I should go, first attempt had a couple bad joints. I re-did my footswitch entirely with slightly longer wires, then took everything out of the enclosure to solder so I could inspect both sides of the new joints on the footswitch eyelets. I also found it tough to get the wires to the 9v jack and soldered well with the jack already installed; last time, I connected wires to internal nut jack first, then slid it through the hole and soldered the wires from jack onto the pcb almost very last step). Had to redo one of the three wires there. Overall, I'm just figuring out some best practices for certain steps and working in small spaces and whatnot. I will admit I used longer wires than necessary in this build, it's just easier to work with without having multiple sets and sizes of helping hands or an actual pcb holder.
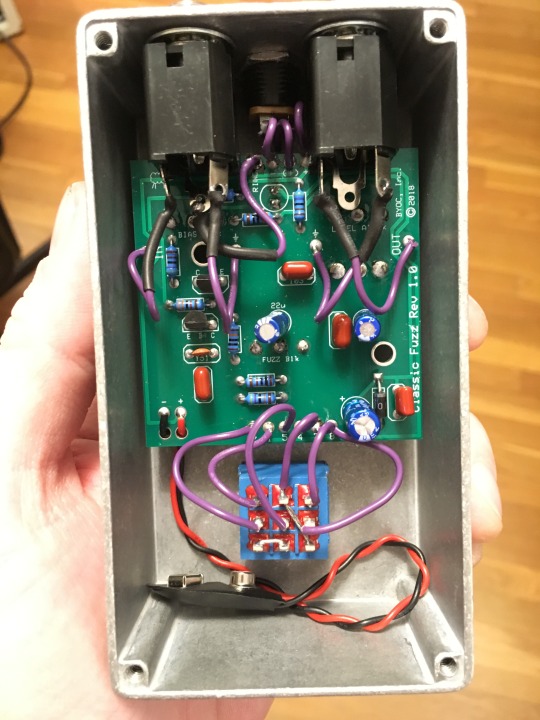
Made some improvements over first build: heat shrink tubing instead of tape on the I/O jack wires, less solder on those lugs in general, twisted the battery snap wires, didn't forget the grippy internal washers on the jacks this time. Thanks for the suggestions!
I also have to say a thank you to the admins and regular users of this forum for contributing so much for so long and diligently answering support posts, offering advice, etc. There is a great knowledge base here, and it does take some combing through and clever searching, but I was able to troubleshoot with just reading older posts rather than posting my own, and it was very satisfying to solve a few problems with just leveraging the experiences of past novice builders and support of expert builders. Thanks to all of you for all you do!
This thing sounds awesome. It's my first fuzz face and I'm so intrigued by the circuit and its history and quirks and all that stuff. I like how finicky it is and how much territory there is to explore.
I have a Silver Pony 2 kit that I intended to be my next build, but I'm thinking I could probably use one more simpler build under my belt to get some more experience before diving into a significantly larger and more cumbersome project with the SP2.