As Tom Petty rightly declared, "The waiting is the hardest part!"

What I would recommend is to fully assemble the kit into the unpainted enclosure and test it, then remove the "guts" assembly and do your enclosure finishing. Looks like it's too late for that on this kit, but try it on your next one. The only desoldering you'd need to do is the two or three wire connections to the DC jack (assuming that it's the internal nut style; if it's the external nut, there's
no desoldering required to get the guts out).
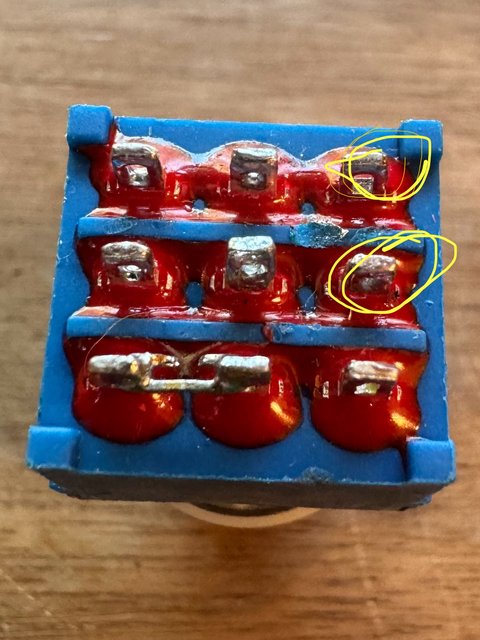
Your soldering appears to be quite good from what I can see, but we'd really need to see much larger photos (BOTH sides of the PCB) to see the detail needed to give you better feedback.
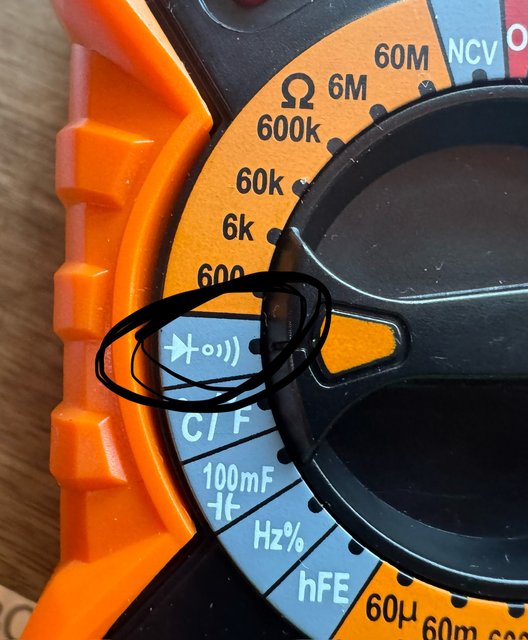
Good to hear that you have a multimeter on order, as that is a required tool for pedal building (handy for testing batteries and other various household tasks, too!). Here are two more essentials that I would strongly recommend that you acquire, as they are critical for fixing mistakes and cleaning up soldering quality issues:
https://www.amazon.com/TBBSC-Desolderin ... B08XQF9WYVhttps://www.amazon.com/gp/product/B008O9VLA2/Don't know what you're using for a soldering iron at this point, but if this is a hobby you plan to continue, investing in a good quality temperature-controlled soldering station is highly recommended. Many of us swear by
THIS HAKKO UNIT, but there are perfectly serviceable units like
THIS ONE available for considerably less $$. I find that a temperature setting of 700 F is ideal for pedal work.
_________________
“My favorite programming language is SOLDER” - Bob Pease (RIP)
My Website *
My Musical Gear * My DIY Pedals:
Pg.1 -
Pg.2